The Resurgence of Traditional Jelley Making
In an era dominated by instant gratification and convenience foods, there’s a growing trend that’s bringing back the art of traditional jelly making. This resurgence is not just about nostalgia; it’s about the joy of creating something from scratch, the satisfaction of using natural ingredients, and the delight of sharing a homemade treat with loved ones. As people seek to reconnect with their roots and embrace slower, more mindful ways of living, the art of jelly making is experiencing a well-deserved renaissance.
Jelly making, once a staple in many households, has seen a decline in recent decades. However, with the rise of artisanal food movements and a renewed interest in preserving traditional culinary skills, more and more people are dusting off their recipe books and experimenting with flavors and techniques. This article explores the reasons behind this resurgence, the benefits of making jelly at home, and how you can get started on your own jelly-making journey.
The Benefits of Making Jelly at Home
Making jelly at home offers numerous benefits that go beyond the final product. Here are a few reasons why more people are turning to homemade jelly:
- Control Over Ingredients: When you make jelly at home, you have complete control over the ingredients. You can choose organic fruits, reduce sugar content, and avoid artificial additives commonly found in store-bought jellies.
- Cost-Effective: Homemade jelly can be more cost-effective in the long run. While the initial investment in ingredients and equipment might seem higher, the cost per serving is often lower than buying pre-made jelly.
- Customization: You can experiment with different fruits, flavors, and textures to create unique jellies tailored to your taste. From classic strawberry to exotic mango and passionfruit, the possibilities are endless.
- Preservation Skills: Jelly making is a form of food preservation that allows you to enjoy seasonal fruits year-round. It’s a practical skill that can help reduce food waste and save money.
Getting Started: Essential Tools and Ingredients
To start making jelly at home, you’ll need a few essential tools and ingredients. Here’s a basic list to get you started:
- Tools:
- Large pot or preserving pan
- Fine-mesh strainer or cheesecloth
- Wooden spoon
- Jelly jars and lids
- Canning funnel (optional but helpful)
- Ladle
- Potholder or oven mitts
- Ingredients:
- Fresh or frozen fruit
- Water
- Sugar (adjust to taste)
- Pectin (optional, depending on the fruit)
- Lemon juice (for acidity and to help set the jelly)
If you’re looking for inspiration and recipes, consider exploring resources like jelley maken voor een feestje, which offers a wealth of ideas and tips for creating delicious jellies for any occasion. Whether you’re a beginner or an experienced jelly maker, there’s always something new to learn and try.
Step-by-Step Guide to Making Basic Fruit Jelly
Here’s a simple step-by-step guide to making basic fruit jelly at home:
- Prepare the Fruit: Wash and chop the fruit into small pieces. For berries, you can leave them whole. For larger fruits like apples or peaches, remove the skin, seeds, and cores.
- Cook the Fruit: Place the fruit in a large pot and add enough water to cover the fruit. Bring to a boil, then reduce the heat and simmer until the fruit is soft. This can take anywhere from 15 to 30 minutes, depending on the fruit.
- Strain the Fruit: Once the fruit is soft, strain it through a fine-mesh strainer or cheesecloth to remove the solids. Press the fruit gently to extract as much liquid as possible. Discard the solids.
- Measure the Juice: Measure the strained juice and return it to the pot. For every cup of juice, add an equal amount of sugar. If you prefer a less sweet jelly, you can reduce the sugar or use a sugar substitute.
- Add Pectin (Optional): If your fruit is low in pectin (like strawberries or raspberries), you may need to add commercial pectin to help the jelly set. Follow the package instructions for the correct amount.
- Boil the Mixture: Bring the juice and sugar mixture to a rolling boil. Stir constantly to prevent burning. Boil for about 1-2 minutes, or until the mixture reaches the gel point. You can test this by placing a small amount of jelly on a cold plate and seeing if it wrinkles when pushed with a finger.
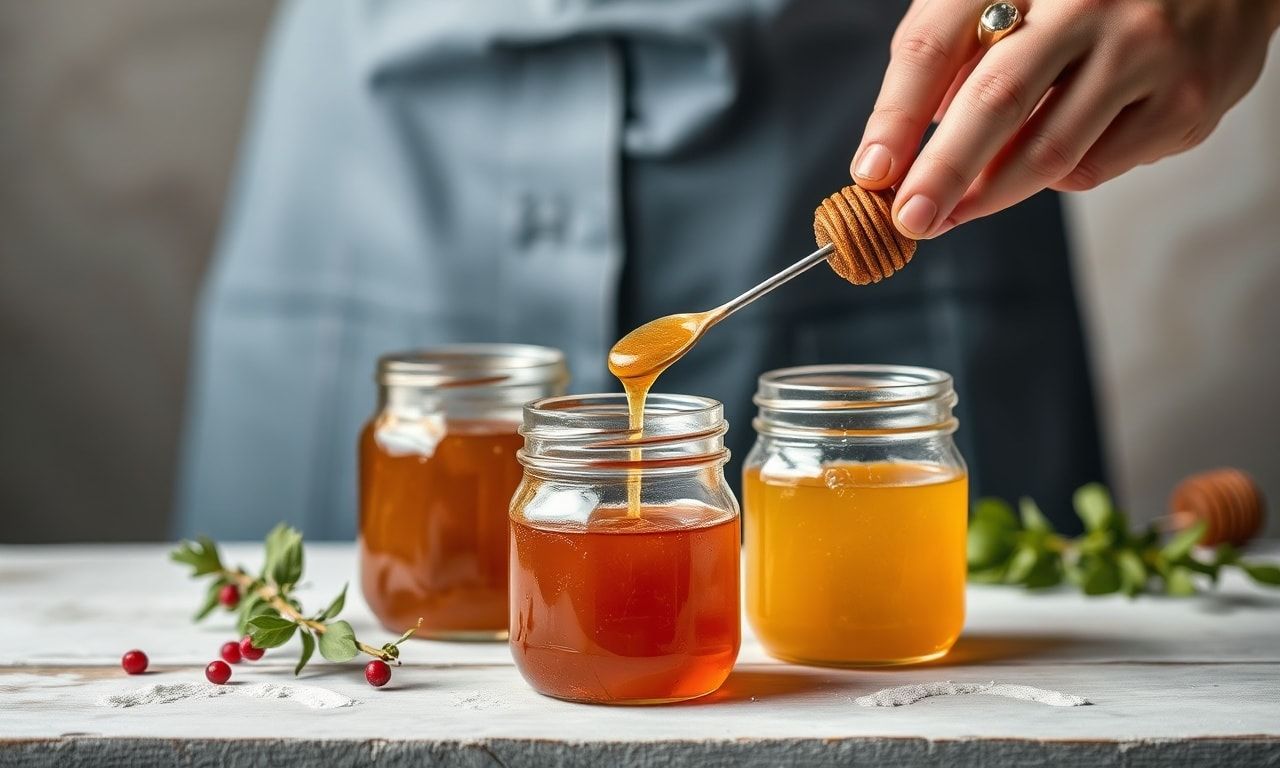
- Jar the Jelly: Remove the pot from the heat and skim off any foam that has formed on the surface. Ladle the hot jelly into sterilized jars, leaving about a quarter-inch of headspace. Seal the jars with lids and process in a water bath for 10 minutes to ensure a proper seal.
- Cool and Store: Allow the jars to cool completely before storing them in a cool, dark place. Homemade jelly can last for up to a year if properly sealed and stored.
Tips for Successful Jelly Making
Here are some tips to help you achieve the best results when making jelly at home:
- Use Ripe Fruit: The riper the fruit, the more natural pectin it contains, which helps the jelly set. Overripe fruit can be too soft and may not yield enough juice.
- Sterilize Your Jars: Properly sterilizing your jars and lids is crucial to prevent contamination and ensure a long shelf life for your jelly.
- Adjust Sugar Levels: While sugar is essential for preserving and setting the jelly, you can adjust the amount to suit your taste. Keep in mind that reducing sugar may affect the jelly’s shelf life and texture.
- Experiment with Flavors: Don’t be afraid to experiment with different fruits, herbs, and spices. Combining flavors like strawberry and basil or apple and cinnamon can create unique and delicious jellies.
- Be Patient: Jelly making is a process that requires time and patience. Rushing the process can lead to poor results. Take your time and enjoy the journey.
The Joy of Sharing Homemade Jelly
One of the most rewarding aspects of making jelly at home is the joy of sharing it with others. Homemade jelly makes a thoughtful and personalized gift for friends, family, and colleagues. Whether you’re giving it as a holiday present, a hostess gift, or a thank-you gesture, homemade jelly is sure to be appreciated.
You can also use your homemade jelly in various ways, from spreading it on toast to using it as a glaze for meats or a topping for desserts. The versatility of jelly makes it a valuable addition to any kitchen. As you explore the art of jelly making, you’ll discover endless possibilities for creativity and enjoyment.
The resurgence of traditional jelly making is a testament to the enduring appeal of homemade, artisanal foods. As more people seek to reconnect with their culinary roots and embrace slower, more mindful ways of living, the art of jelly making is experiencing a well-deserved renaissance. Whether you’re a seasoned jelly maker or a beginner looking to try something new, the world of homemade jelly offers endless opportunities for creativity, enjoyment, and connection. So, gather your ingredients, dust off your recipe books, and embark on a delicious journey into the art of jelly making.


